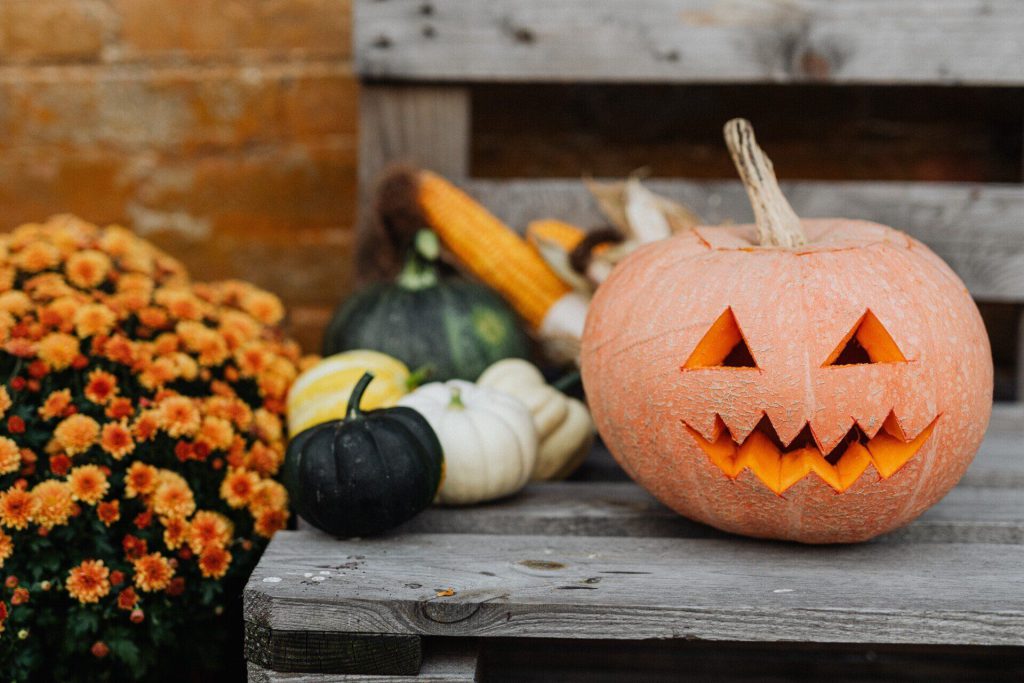
Carving Up a Frightfully Good Pumpkin

1. Pick out a good pumpkin. The freshest pumpkins come from farms and greenhouses like ours, where they go straight from the grower to you. A good pumpkin is firm, has an attached stem, is free from bruises, mold, and soft spots, and doesn’t sound like there is any liquid in it when shaken gently. It isn’t perfect. Odd shapes, scars, and lopsidedness add character. It should also sit up well, although some great jack-o-lanterns have been known to have been carved lying on their sides. Smooth pumpkins are great for young children because they are easier to cut than ones will deep ridges. Most of all, a good pumpkin should inspire you.
2. Be nice to your pumpkin. Hold and carry it from the bottom, not from the stem. Keep it in a cool dry place. Perhaps give it a name if you are really in the Halloween spirit. Don’t carve it too soon, though. As eager as everyone is to start, remember a carved pumpkin lasts 3-7 days in most cases. It is best to wait until just few days before Halloween, so your jack-o-lantern is strong and fresh looking on Halloween.
3. Prepare to carve. Wash and dry your pumpkin. Cover your work surface with grocery bags or newspaper for easy clean up. Gather your supplies. Pumpkin carving kits are great, but not necessary. A big metal spoon and a serrated knife will do fine. Other tools you might have around include ice cream scoops, melon ballers, exacto knives, vegetable peelers, lemon zesters, a nail, and artists’ supplies like lino cutting and clay working tools. Other tools you might want include a sharpie marker, some rubbing alcohol, masking tape, toothpicks, aluminum foil, and Vaseline (more about those later).
4. Clean it out. Try opening it up from the bottom instead of the top. It keeps the pumpkin fresh longer, and best of all, the seeds and goop are attached to the bottom and will pop right out! If you want to do it the old-fashioned way and cut from the top, just remember to cut at an angle so the lid doesn’t fall into the pumpkin. Scrape the insides completely clean and smooth with a large spoon or ice cream scoop. Any strings left inside will quickly mold. Once you’ve done that, you may want to keep going! A thinner wall is easier to carve. It should be no more than an inch thick, and it can even be scraped down to as little as ½ inch and still be sturdy. And don’t forget to save the seeds for roasting. Go to https://www.foodnetwork.com/recipes/food-network-kitchen/pumpkin-seeds-recipe-2105941 for a simple recipe with several great, spiced variations.
5. Plan your design. You can either draw directly on the pumpkin with a sharpie marker or draw it on paper. If you draw it on paper, tape the paper to the pumpkin, and use a nail to punch holes where all the lines are. Then remove the paper and connect the dots with a sharpie. If you don’t feel confident in your drawing ability, you can print a pattern you find online. Try https://www.thesprucecrafts.com/free-pumpkin-carving-patterns-and-templates-1357644 or search “free printable pumpkin stencils” on Pinterest for ideas.
6. Get carving! As I mentioned before, you can use tools from a store-bought kit, or a serrated knife. Start in the middle of your design and work outwards. Make rough cuts first, moving the knife in an up and down, sawing motion. Then go back to refine the cuts, making sure they all go completely through. Pop the pieces out from the inside. Get creative using any other tools you like. A melon baller can be used to make eyeballs to attach with a toothpick, a lemon zester makes great whiskers or hair, and a vegetable peeler is great for widening openings and smoothing out jagged looking cuts.
7. Once carved, clean off any remaining marker lines with a rag and some rubbing alcohol. You can also help preserve your pumpkin by rubbing Vaseline on the inside and on any cut edges.
8. Light it up! It is safest to use battery operated tea lights or puck lights inside the pumpkin. If you cut your pumpkin open from the bottom, just plop the pumpkin down on top or the light. To make it glow brighter, you can use more than one light if needed. You can also put a piece of aluminum foil under the lights; it will reflect the light up and out.
9. Enjoy your masterpiece! We would love to see it, too. Please, post your Halloween photos in the comments. Have a happy and safe Halloween!
