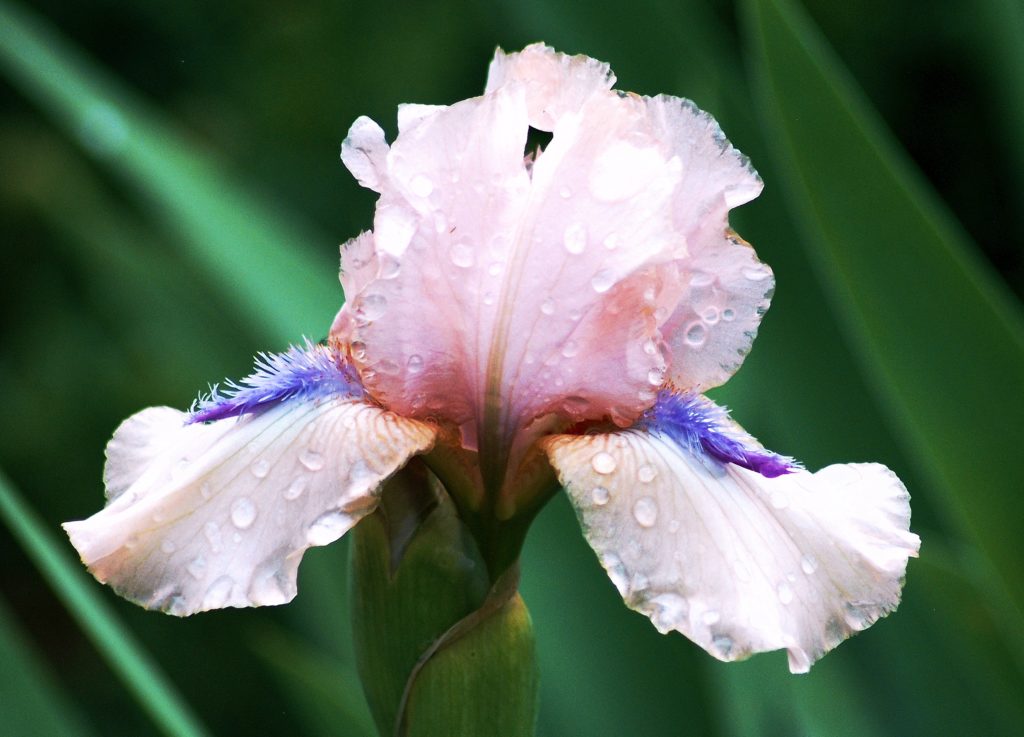
Dividing Bearded Irises

Nothing says spring like a bed of irises in full bloom, and it seems everyone has a few in their garden. Perhaps your grandmother gave you some of hers to plant, or maybe they were already there when you moved into your house. Maybe we all have them because they are relatively easy to care for. They are drought tolerant and usually survive our cold Wisconsin winters without difficulty. They do flower best when divided every 3-5 years, though. It may be time to divide them when you notice the following things.
- They produce fewer flowers than they used to.
- You can see a tumbled mass of rhizomes heaving up out of the earth and over each other.
- The clump is shaped like a ring with a big bare spot right in the middle.
- They appear diseased.
This job is best done in mid to late summer, so if you haven’t done it yet, now is the time. If you wait too long into the fall, the roots will not have enough time to get established, and they may heave up out of the soil over the winter.
You will need a shovel or pitchfork, a sharp garden knife or pruners, some diluted bleach water in a bucket or spray bottle, compost, and possibly some bone meal.
- Dig up whole clump. Brush away most of the dirt or rinse them with a hose so you can see the individual rhizomes.
- Separate the rhizomes with clean, sharp tool knife or snippers. It is ok to leave small ones in a group of 2-3.
- Toss any rhizomes that feels soft, spongy, or mushy, as well as any that appear to have small holes bored into them. Don’t compost these as they may be diseased. Also, toss any rhizomes that don’t have a fan of leaves attached.
- Either spray the rhizomes with a 10% bleach solution or soak them in it for ten minutes. Rinse them and set them out to dry in a shady spot.
- While they are drying, prepare the area where you want to plant your newly divided irises. Choose an area with well-draining soil and full sun. Now is a good time to mix a bit of compost or bonemeal into the soil. The phosphorus in bonemeal will help irises develop strong roots. Other fertilizers should be avoided as they usually contain too much nitrogen which can stress new transplants and encourage diseases.
- Cut the leaf fans on your clean, dry irises down to about 1/3 of their original height. Smaller leaves won’t use as many nutrients. That means the nutrients the plant takes up will go to developing roots. The shorter leaves also won’t be easily pushed over by wind.
- Your irises should be planted 12-18 inches apart. Dig each planting hole and mound up a little dirt in the center of it. Arrange a rhizome on the mound with the roots spread out around it. Fill in the hole so it just barely covers the rhizome, and firmly compact the soil.
- Water after planting and weekly until frost.
- Regularly remove dead leaves and debris from around your irises, especially over the winter. This will keep them healthy and free of disease.
Some irises may not bloom well the first spring after being divided, but be patient. You will be rewarded many times over in the years after that! Hopefully this will give you the confidence to go out and tackle your overgrown irises. If you have any questions about irises, or other plants, just stop in any Pleasant Prairie Greenhouse location. We are open for fall Fri-Sun, and while you are there, check out our fall mums. We have tons of gorgeous varieties to choose from.
